
A few days ago, I decided to upgrade from Windows 10 to Windows 11, and instead of using the Home edition, I went ahead and paid to upgrade to the Pro version. Why? Because I wanted to see what the Hyper-V virtual machine management system is all about. Hyper-V has been fantastic for me at the moment. There doesn’t seem to be much lag, and connectivity works great. However, I was presented with one annoying issue: one of my Linux distros, namely Kali Linux, was stuck on a small screen resolution that didn’t seem to want to fix itself.
The Initial Problem
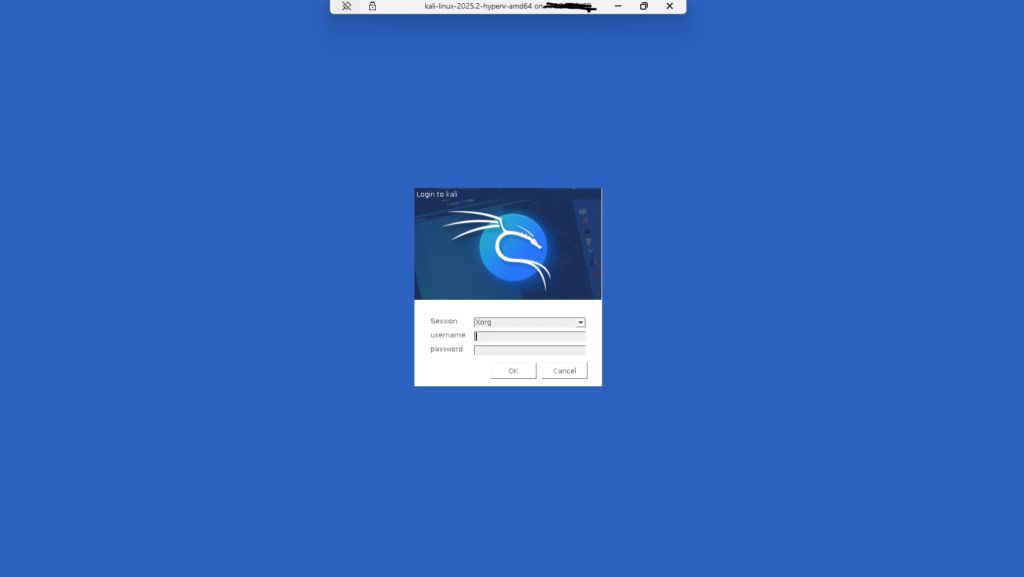
Getting Kali Linux to be fullscreen was initially difficult due to the unfortunate fact that there seemed to be limited resources on fixing this matter. Show in the picture above was the actual size of my screen and it made using a lot of the tools difficult with a screen at that size.
Step 1: Installing and Using xrandr
The first step I took was to install xrandr. You can think of xrandr as a command-line utility that allows the user to control their resolution that way. It should be installed by default within your machine, but if it is not, then you can run sudo apt-get install xrandr to have it installed.
I then ran cvt 1920 1080, which is my base screen resolution for my device.
Step 2: Adding a New Resolution
I went back into my home screen on Windows 11 to see what my screen resolution was, and in my case, it was 1920 x 1080. I then ran the following command:
cvt 1920 1080The cvt command is a command-line utility that can be used to calculate VESA Coordinated Video Timing (CVT) modelines. You should see something like the below, which is completely normal:
1920x1080 59.96 Hz (CVT 2.0736M9) hsync: 67.16 kHz; pclk: 173.00 MHzStep 3: Set the Resolution
The next step that has to be taken is to set the actual resolution. This involves running another command:
xrandr –output DisplayName –mode 1920x1080_60.00
Step 4: Save the Resolution to Make It Persistent
You now need to make this resolution automatic. You need to make the resolution persistent, and you can do this all through the command line. I ran the code below:
pico ~/.xprofileThen, I added the following lines:
xrandr --newmode "1920x1080_60.00" 173.00 1920 2048 2248 2576 1080 1083 1088 1120 -hsync +vsync
xrandr --addmode Virtual-0 "1920x1080_60.00"
xrandr --output Virtual-0 --mode 1920x1080_60.00
After adding these lines, I saved the file and exited pico.
Step 5: Reboot
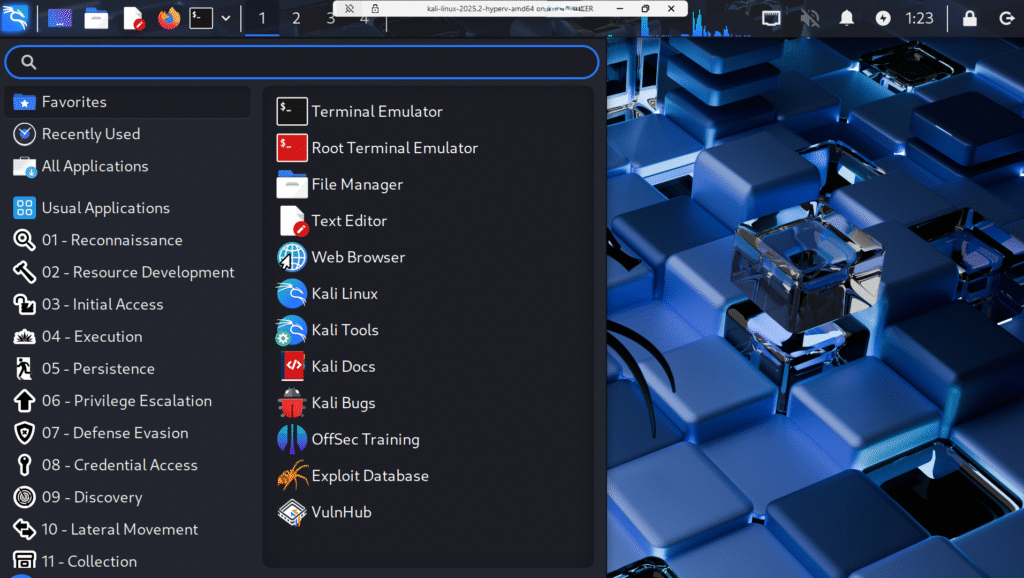
The last command I wrote was sudo reboot. After my virtual machine rebooted, I was presented with the screen below. I hope that this works for you!
Step 6: Conclusion
Hyper-V can be quite picky when it comes to screen resolutions. In fact, when I was setting up my Parrot OS linux distro it was ready to go with screen resolution right away from the start. I hope that you found this guide useful and feel free to comment below on if it worked or didn’t work for you!
Leave a Reply